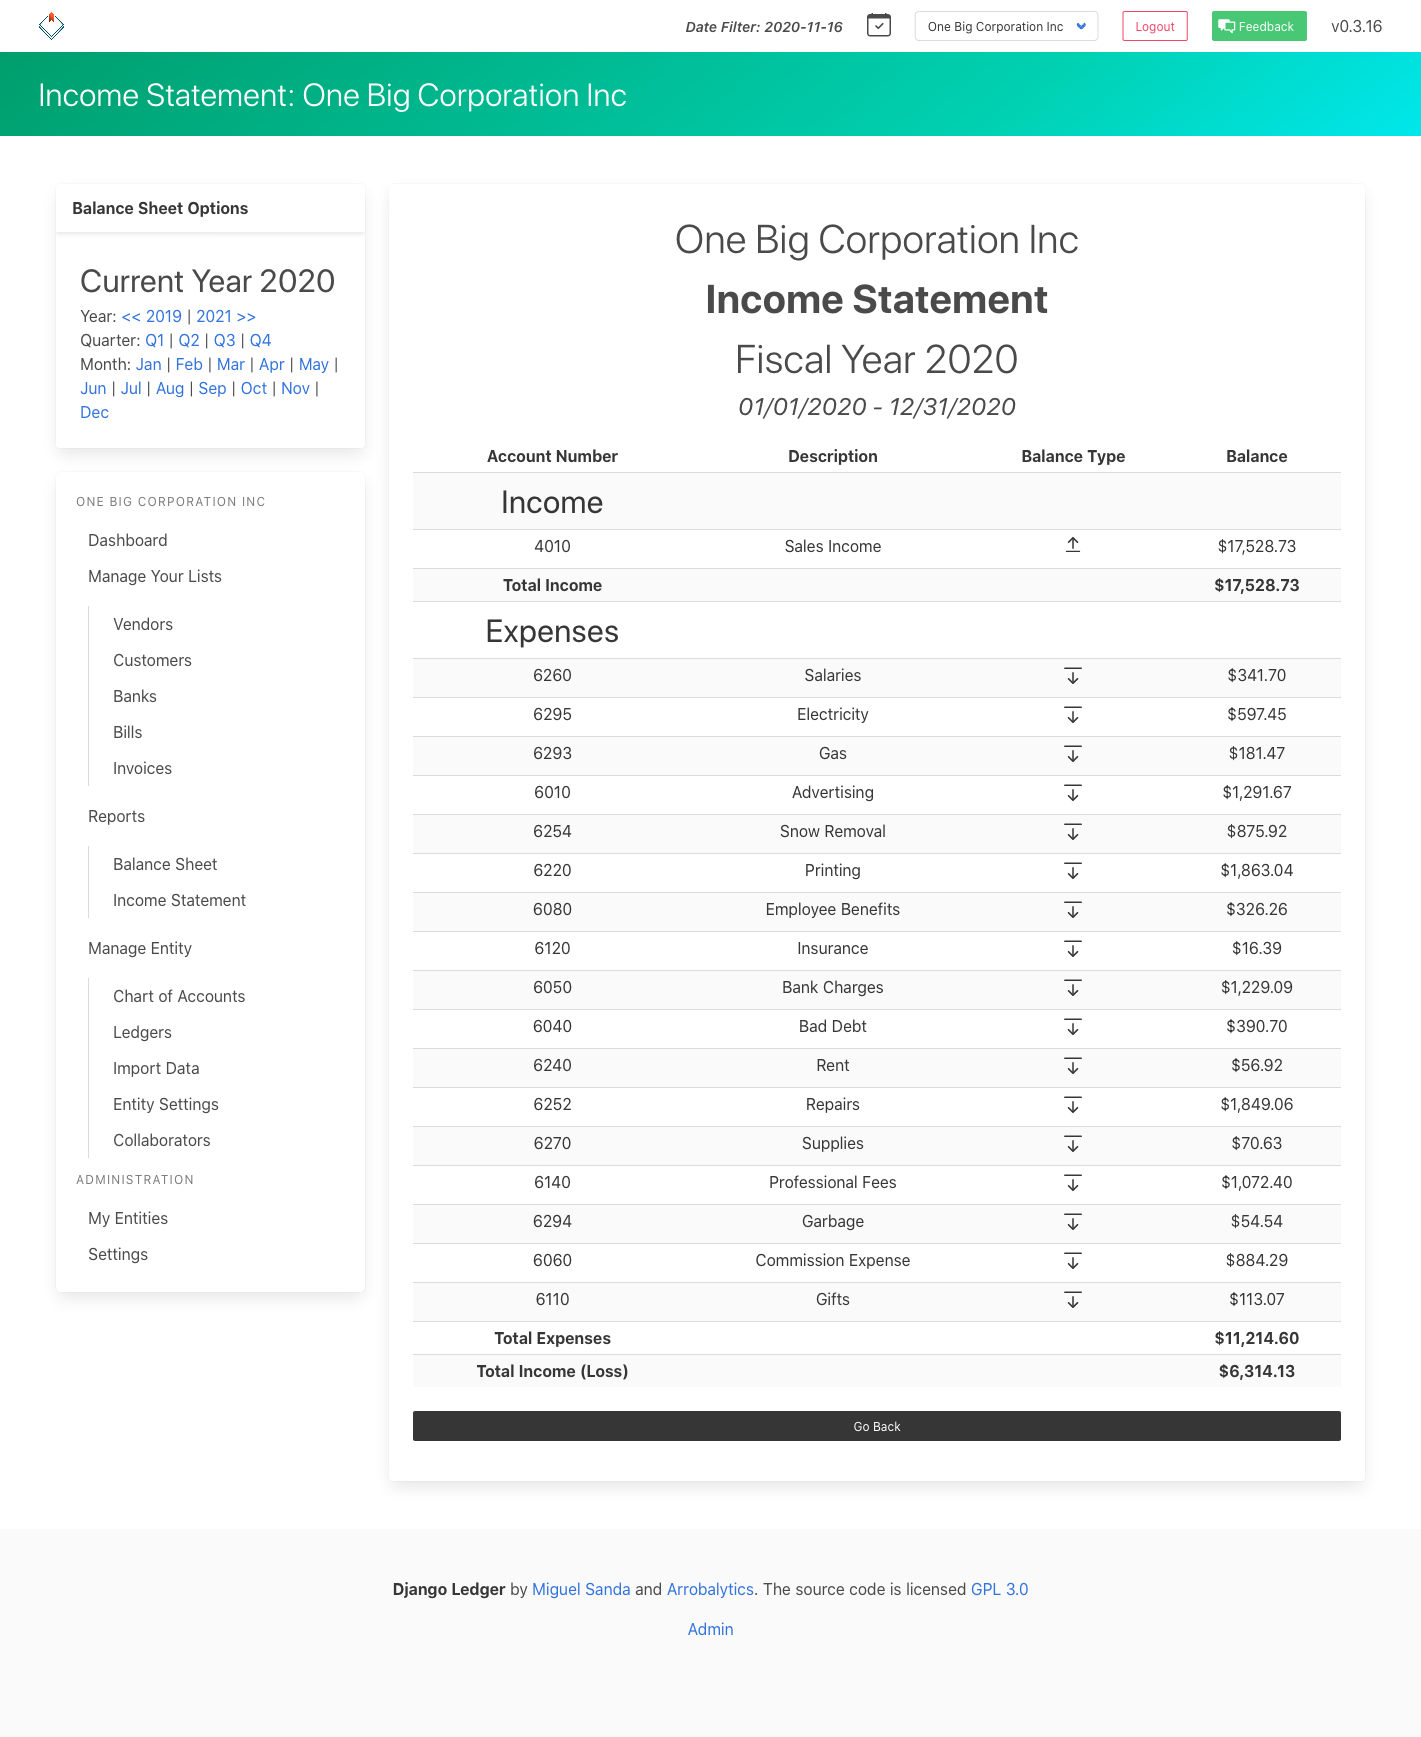
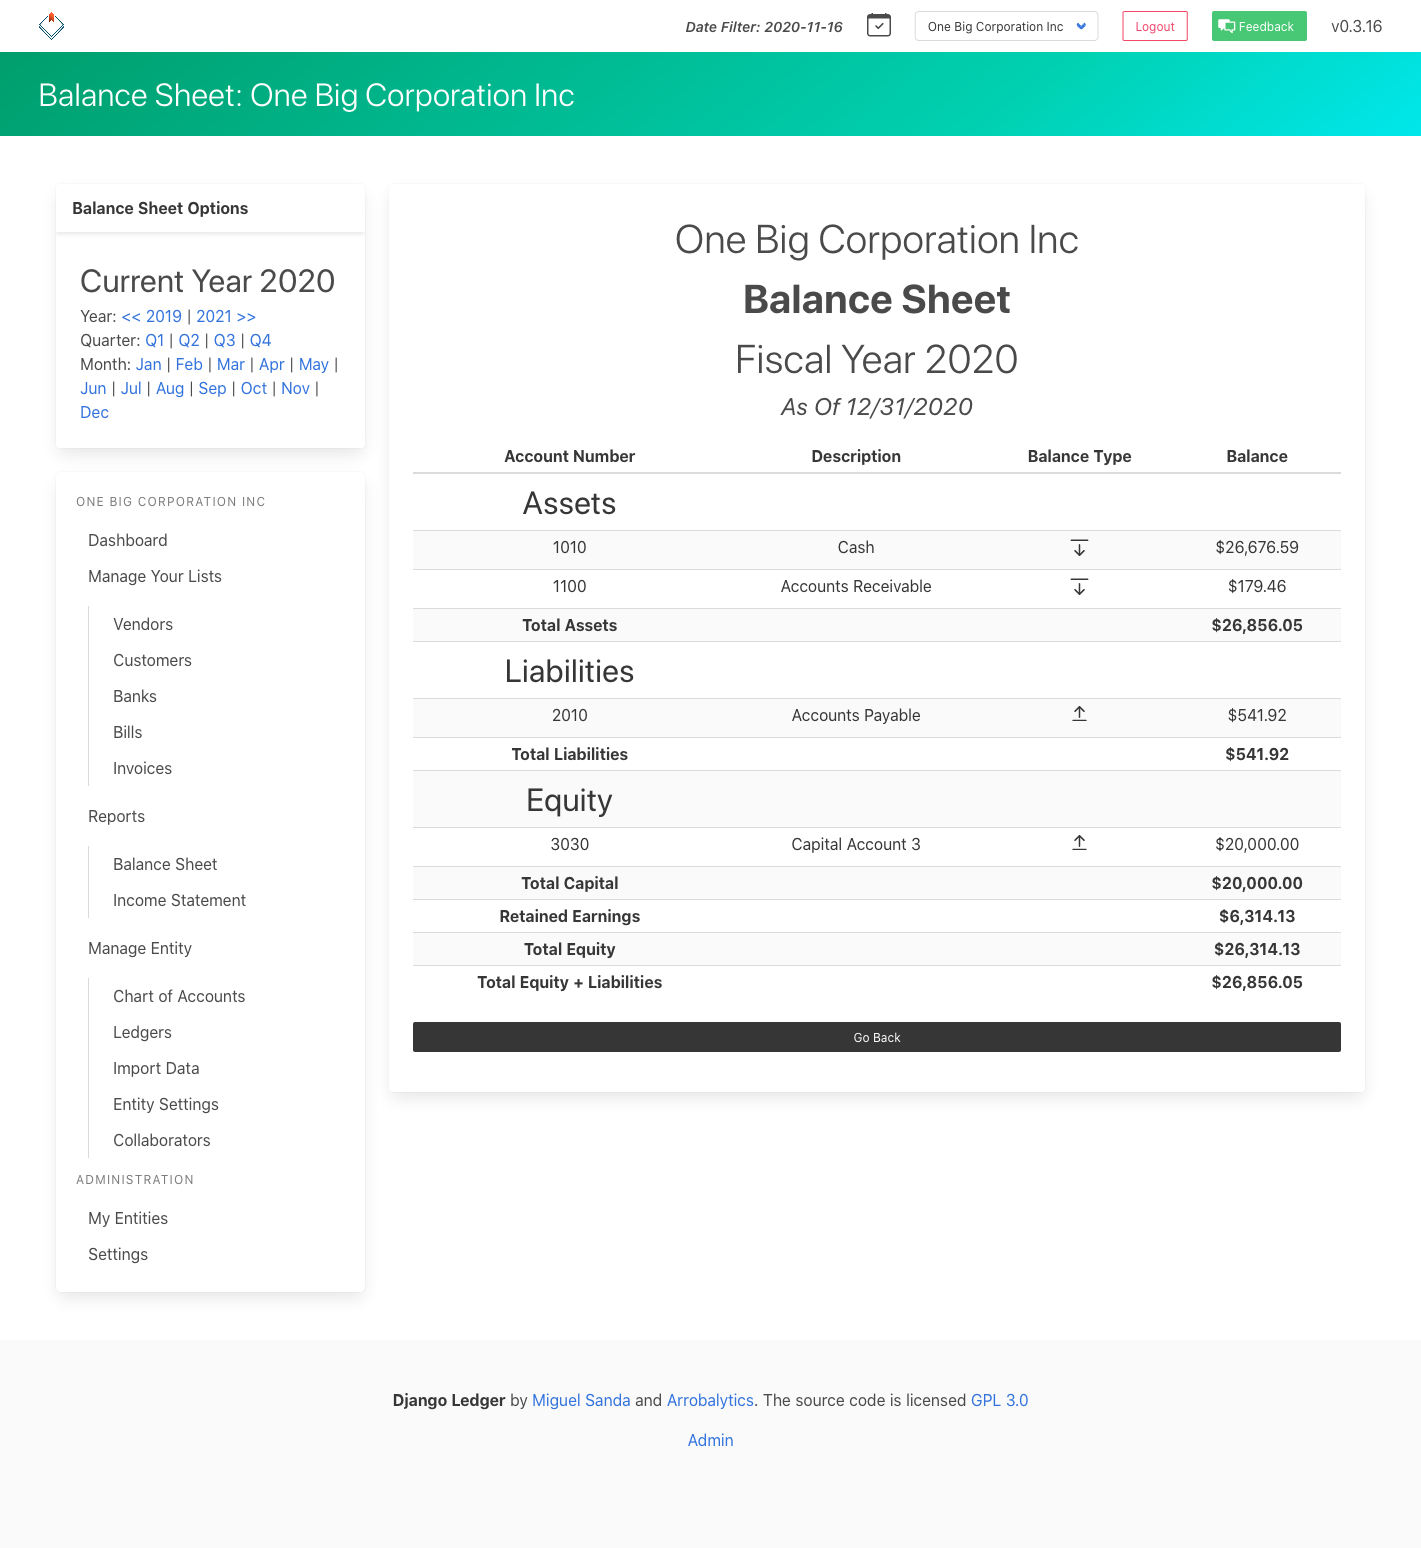
This project is on progress depending on Django Ledger project
Django Ledger comes with a default CoA ready to use, or you could use your own. Make sure to select the appropriate option when creating new entities.
- Install Django Ledger
pip install django-ledgerTo install Django Virtual Environment
pip install pipenv
- Or with pipenv:
pipenv install django-ledger- Add django_ledger to INSTALLED_APPS
INSTALLED_APPS = [
    ...,
    'django_ledger',
    ...,
]- Add URLs to your project:
from django.urls import include, path

urlpatterns = [
    ...,
    path('ledger/', include('django_ledger.urls', namespace='django_ledger')),
    ...,
]- Add Django SuperUser if necessary.
python manage.py createsuperuser- Navigate to Django Ledger root view assigned in your project urlpattern setting.
- Use your user credentials.
Django Ledger comes with a basic development environment already configured under dev_env/ folder not to be used for production environments. If you want to contribute to the project perform the following steps:
- Navigate to your projects directory.
- Clone the repo from github and CD into project.
git clone https://github.com/arrobalytics/django-ledger.git && cd django-ledger- Install PipEnv, if not already installed:
pip install -U pipenv- Create virtual environment.
pipenv installIf using a specific version of Python you may specify the path.
pipenv install --python PATH_TO_INTERPRETER- Activate environment.
pipenv shell- Apply migrations.
python manage.py migrate- Create a Development Django user.
python manage.py createsuperuser- Run development server.
python manage.py runserverAfter setting up your development environment you may run tests.
python manage.py test django_ledger